Description
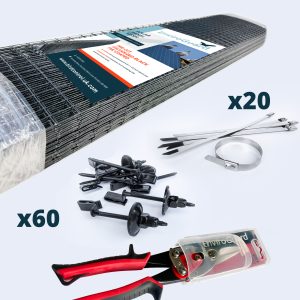
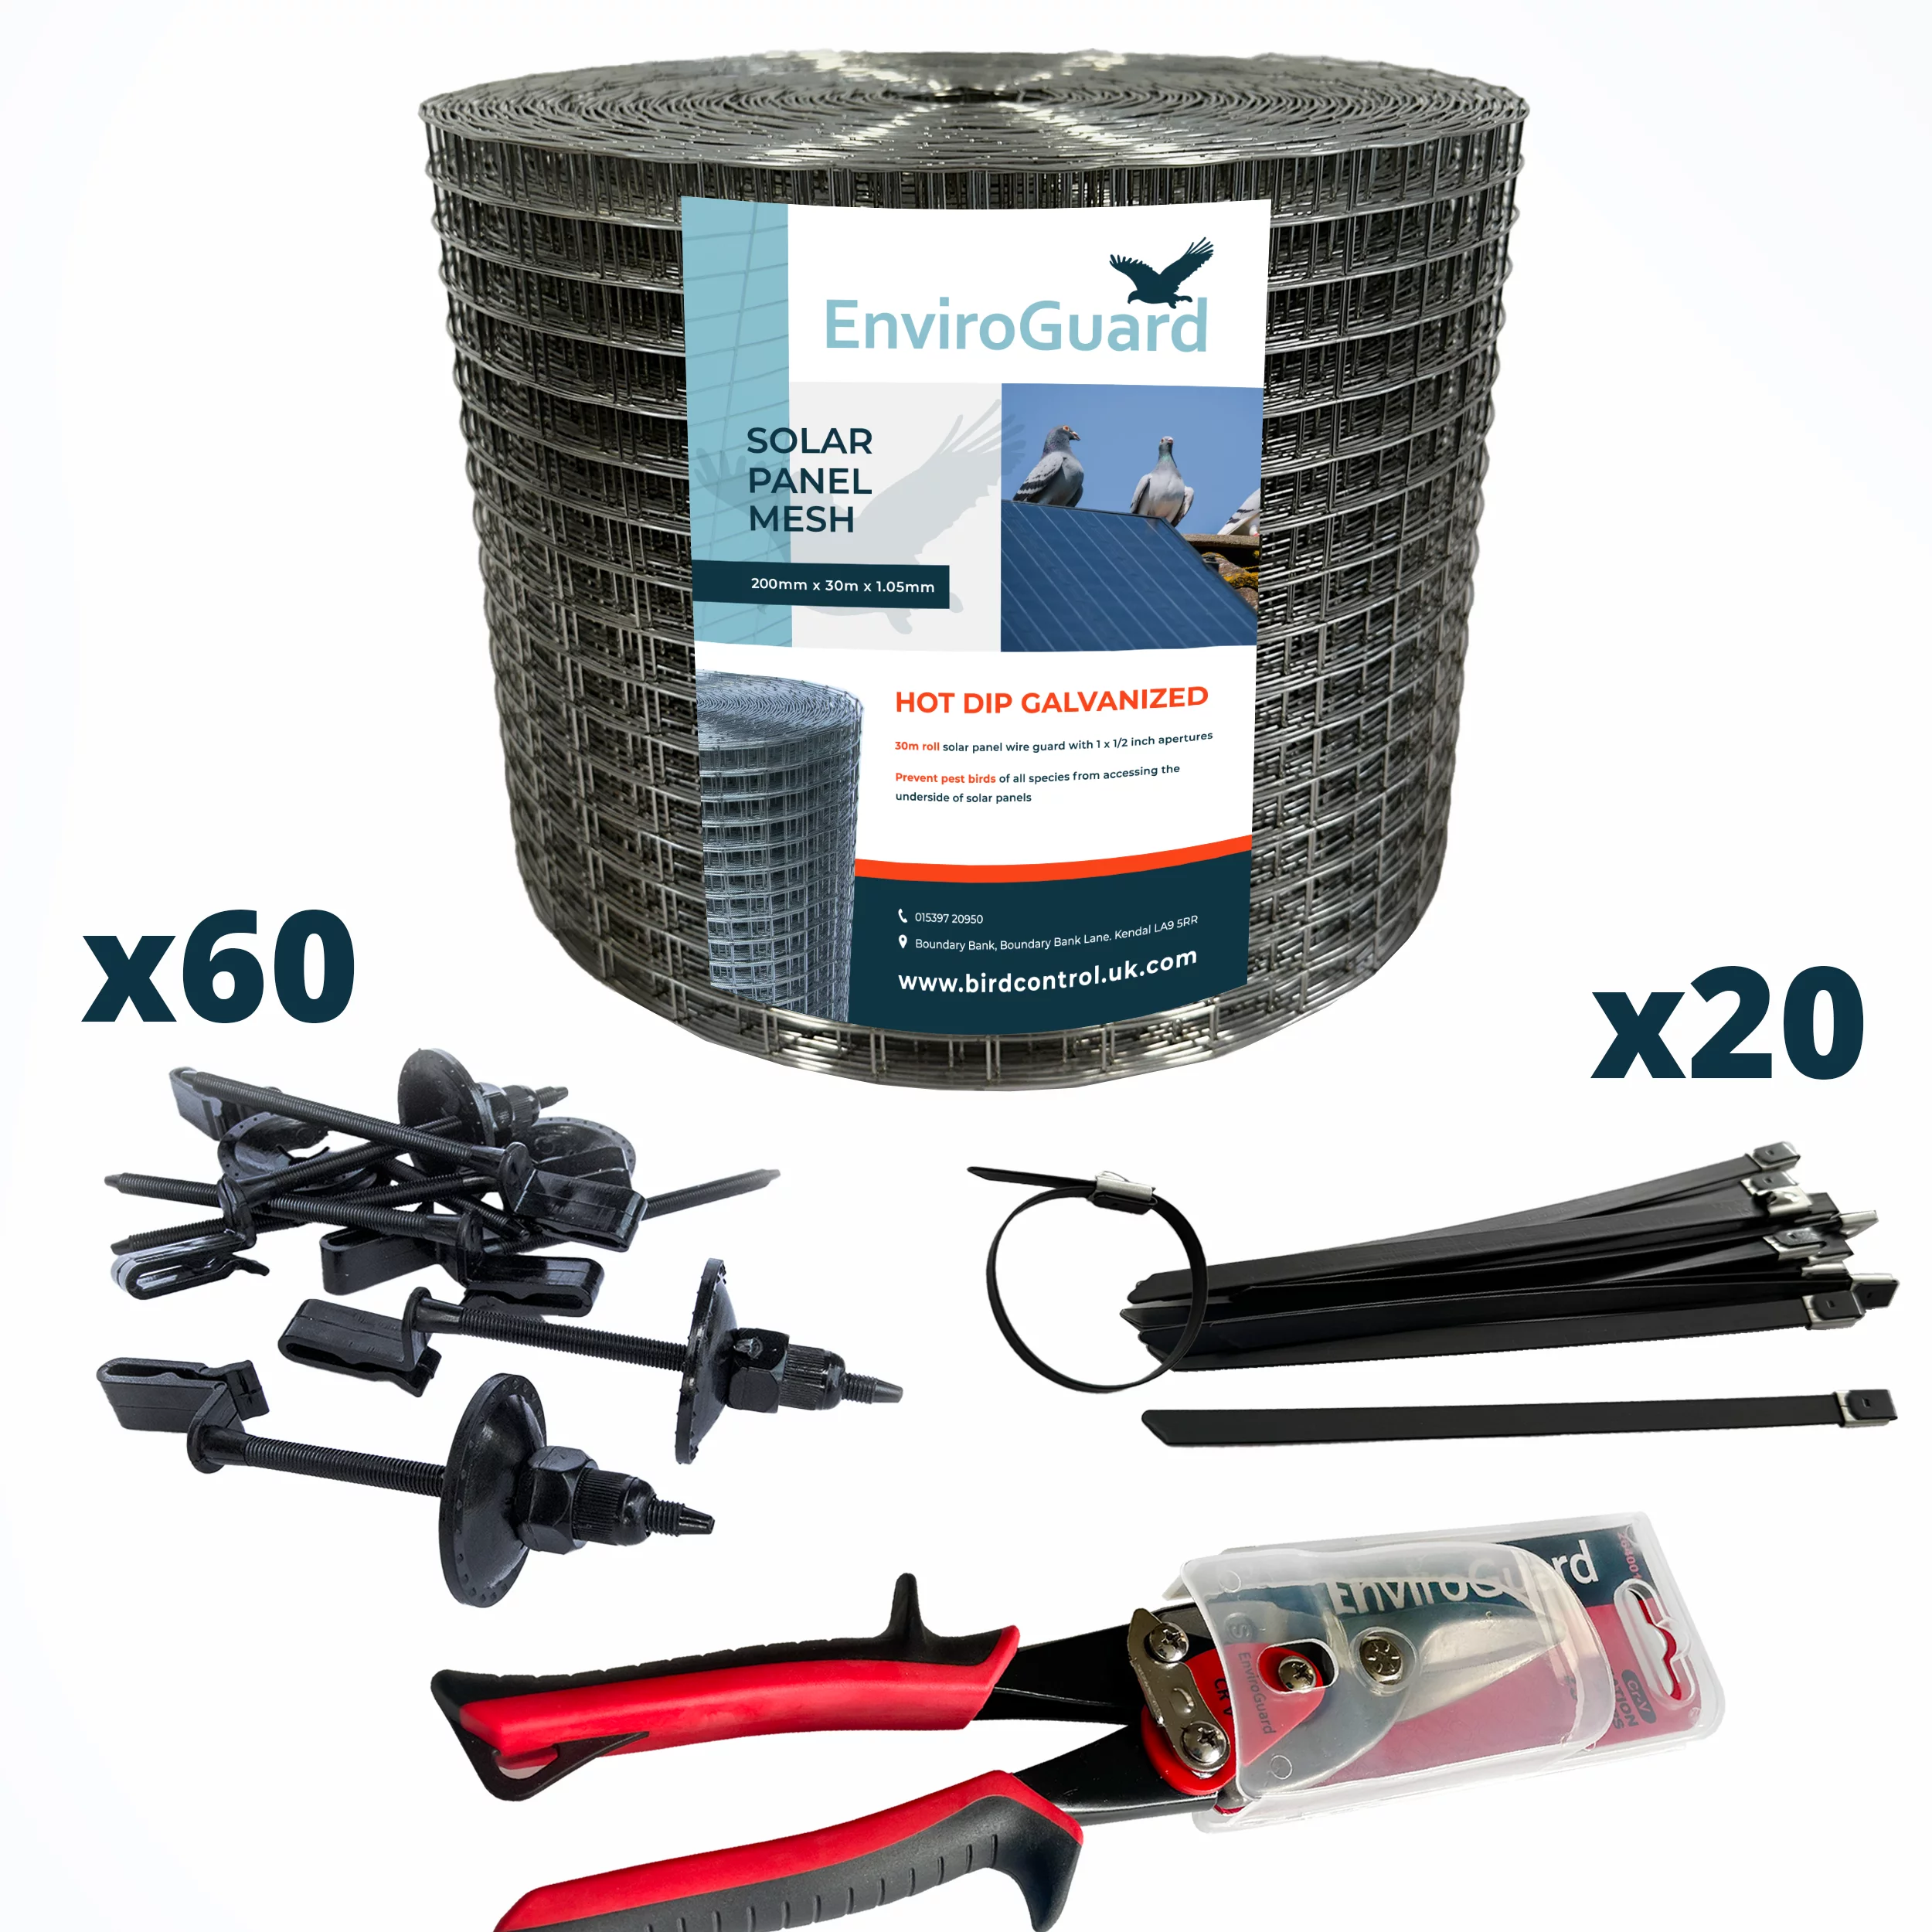
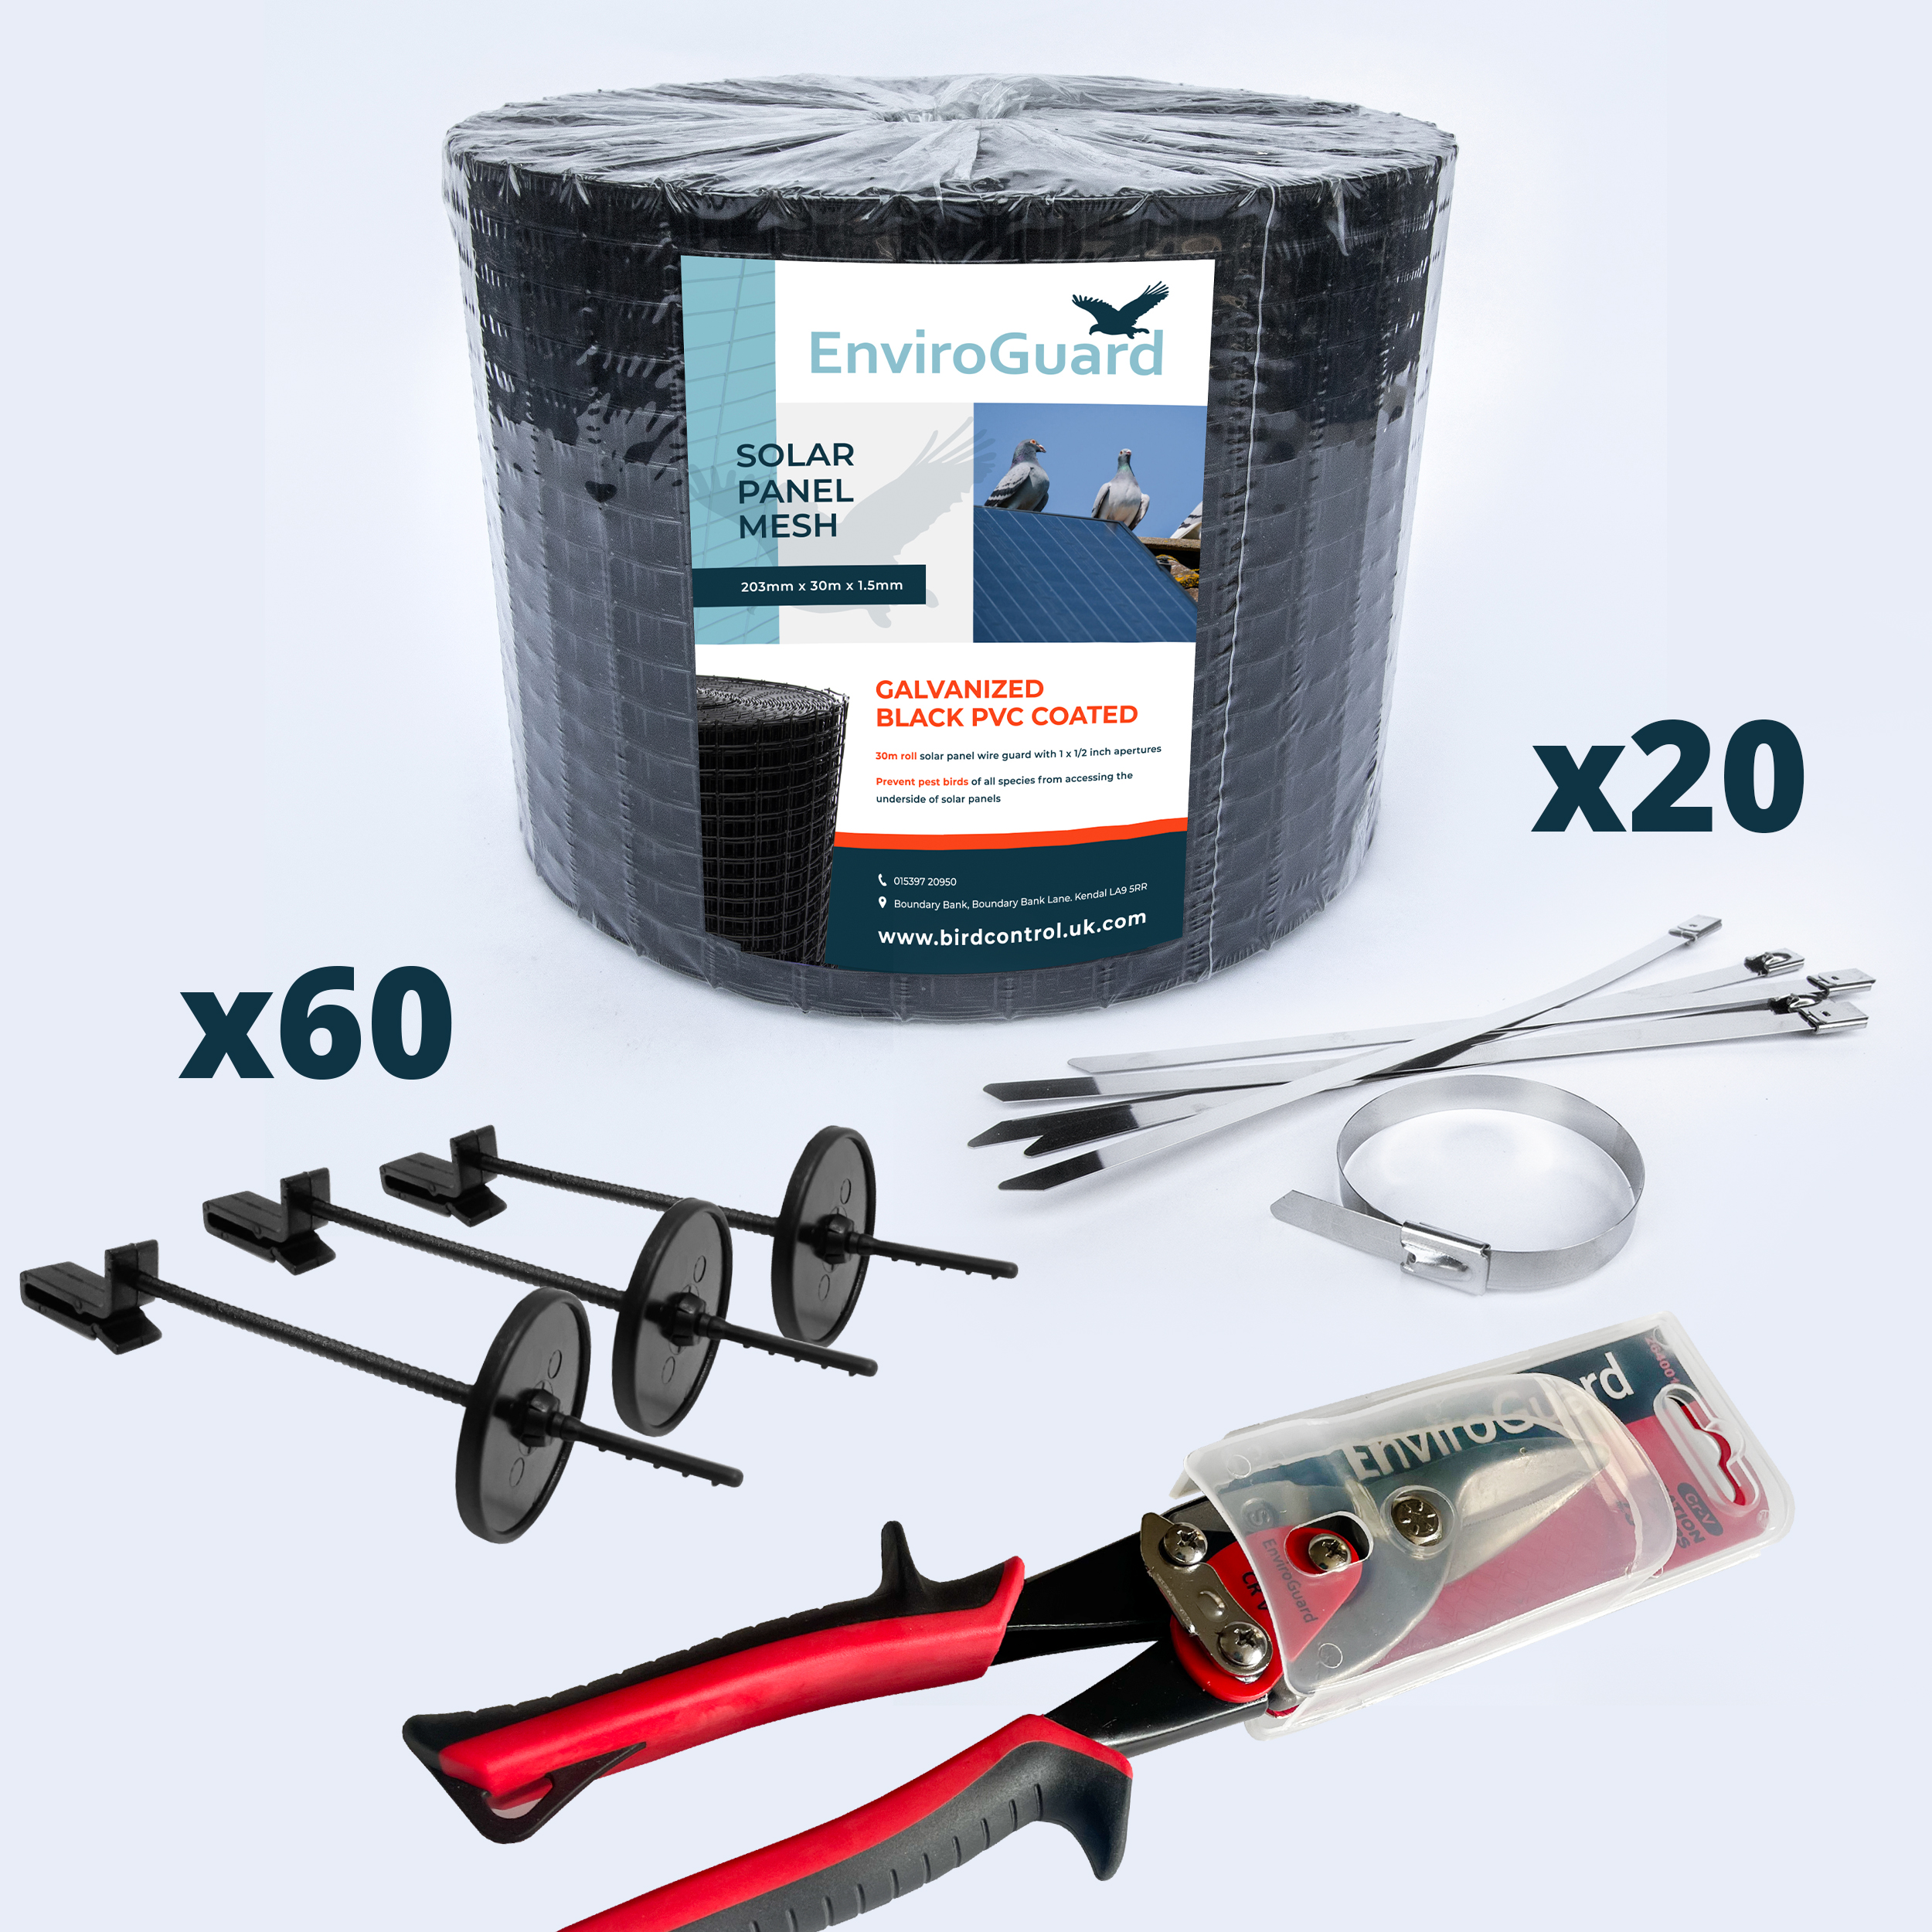
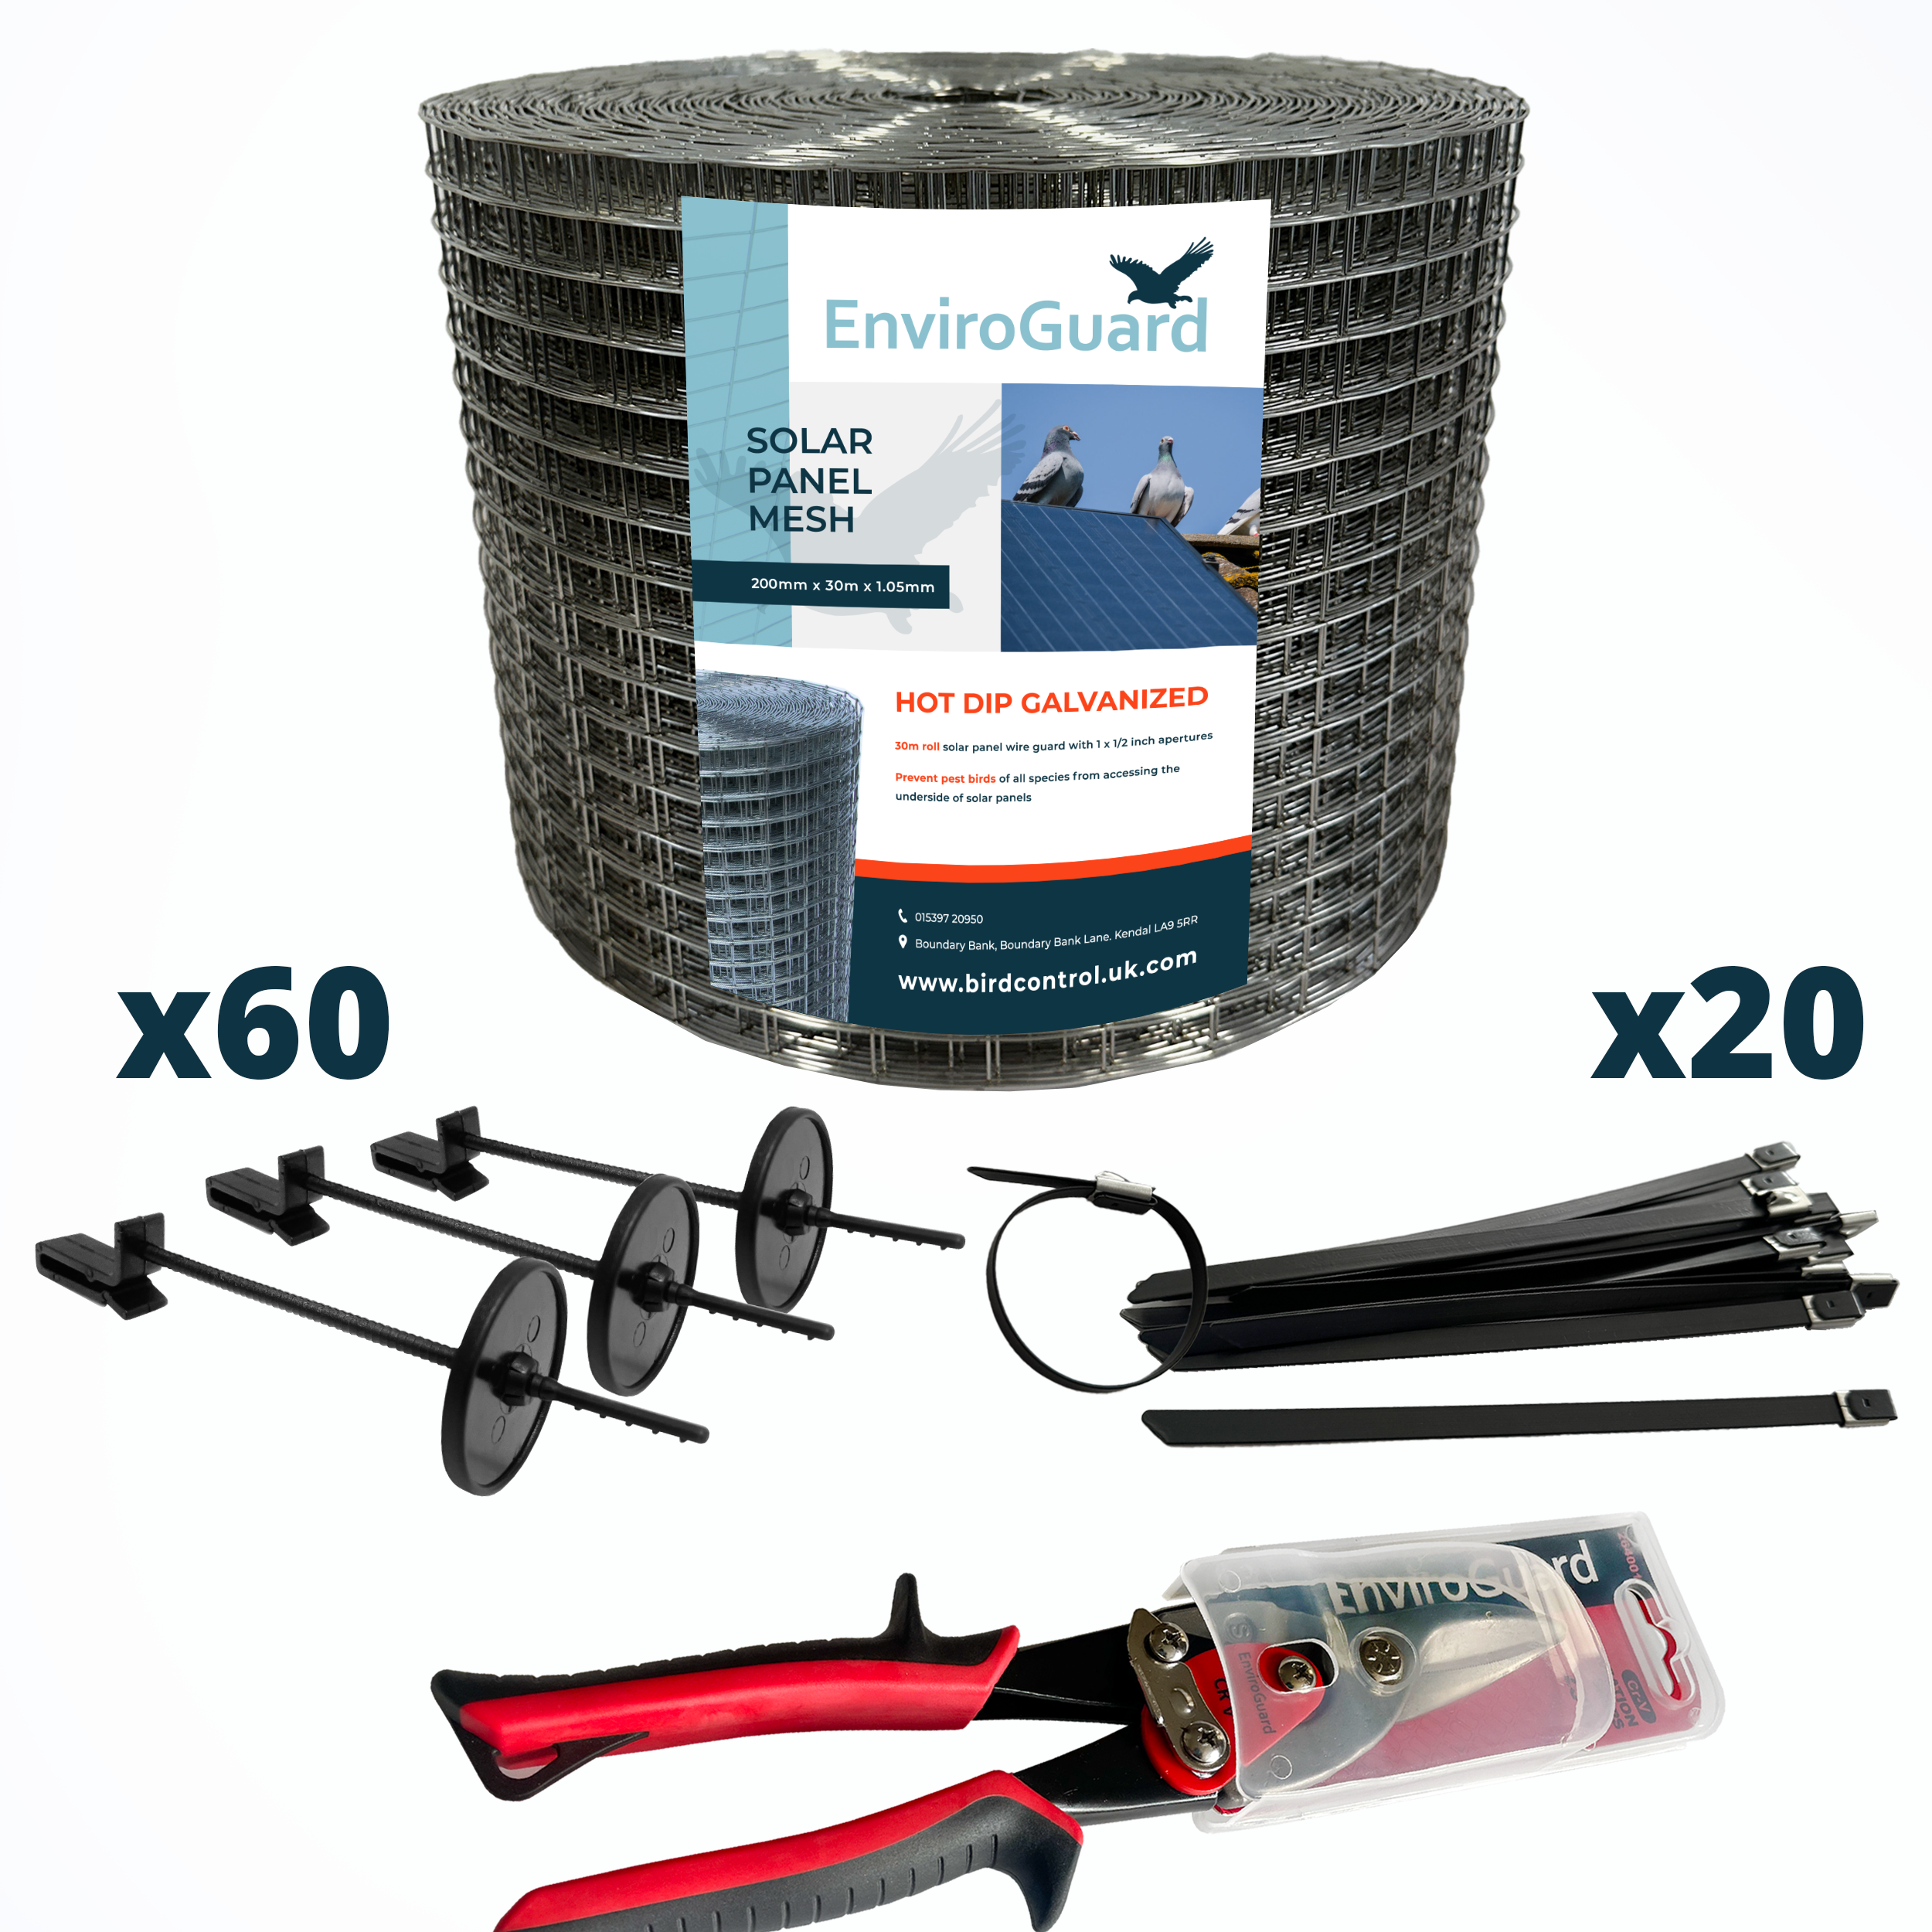
The solar panel kit contains.
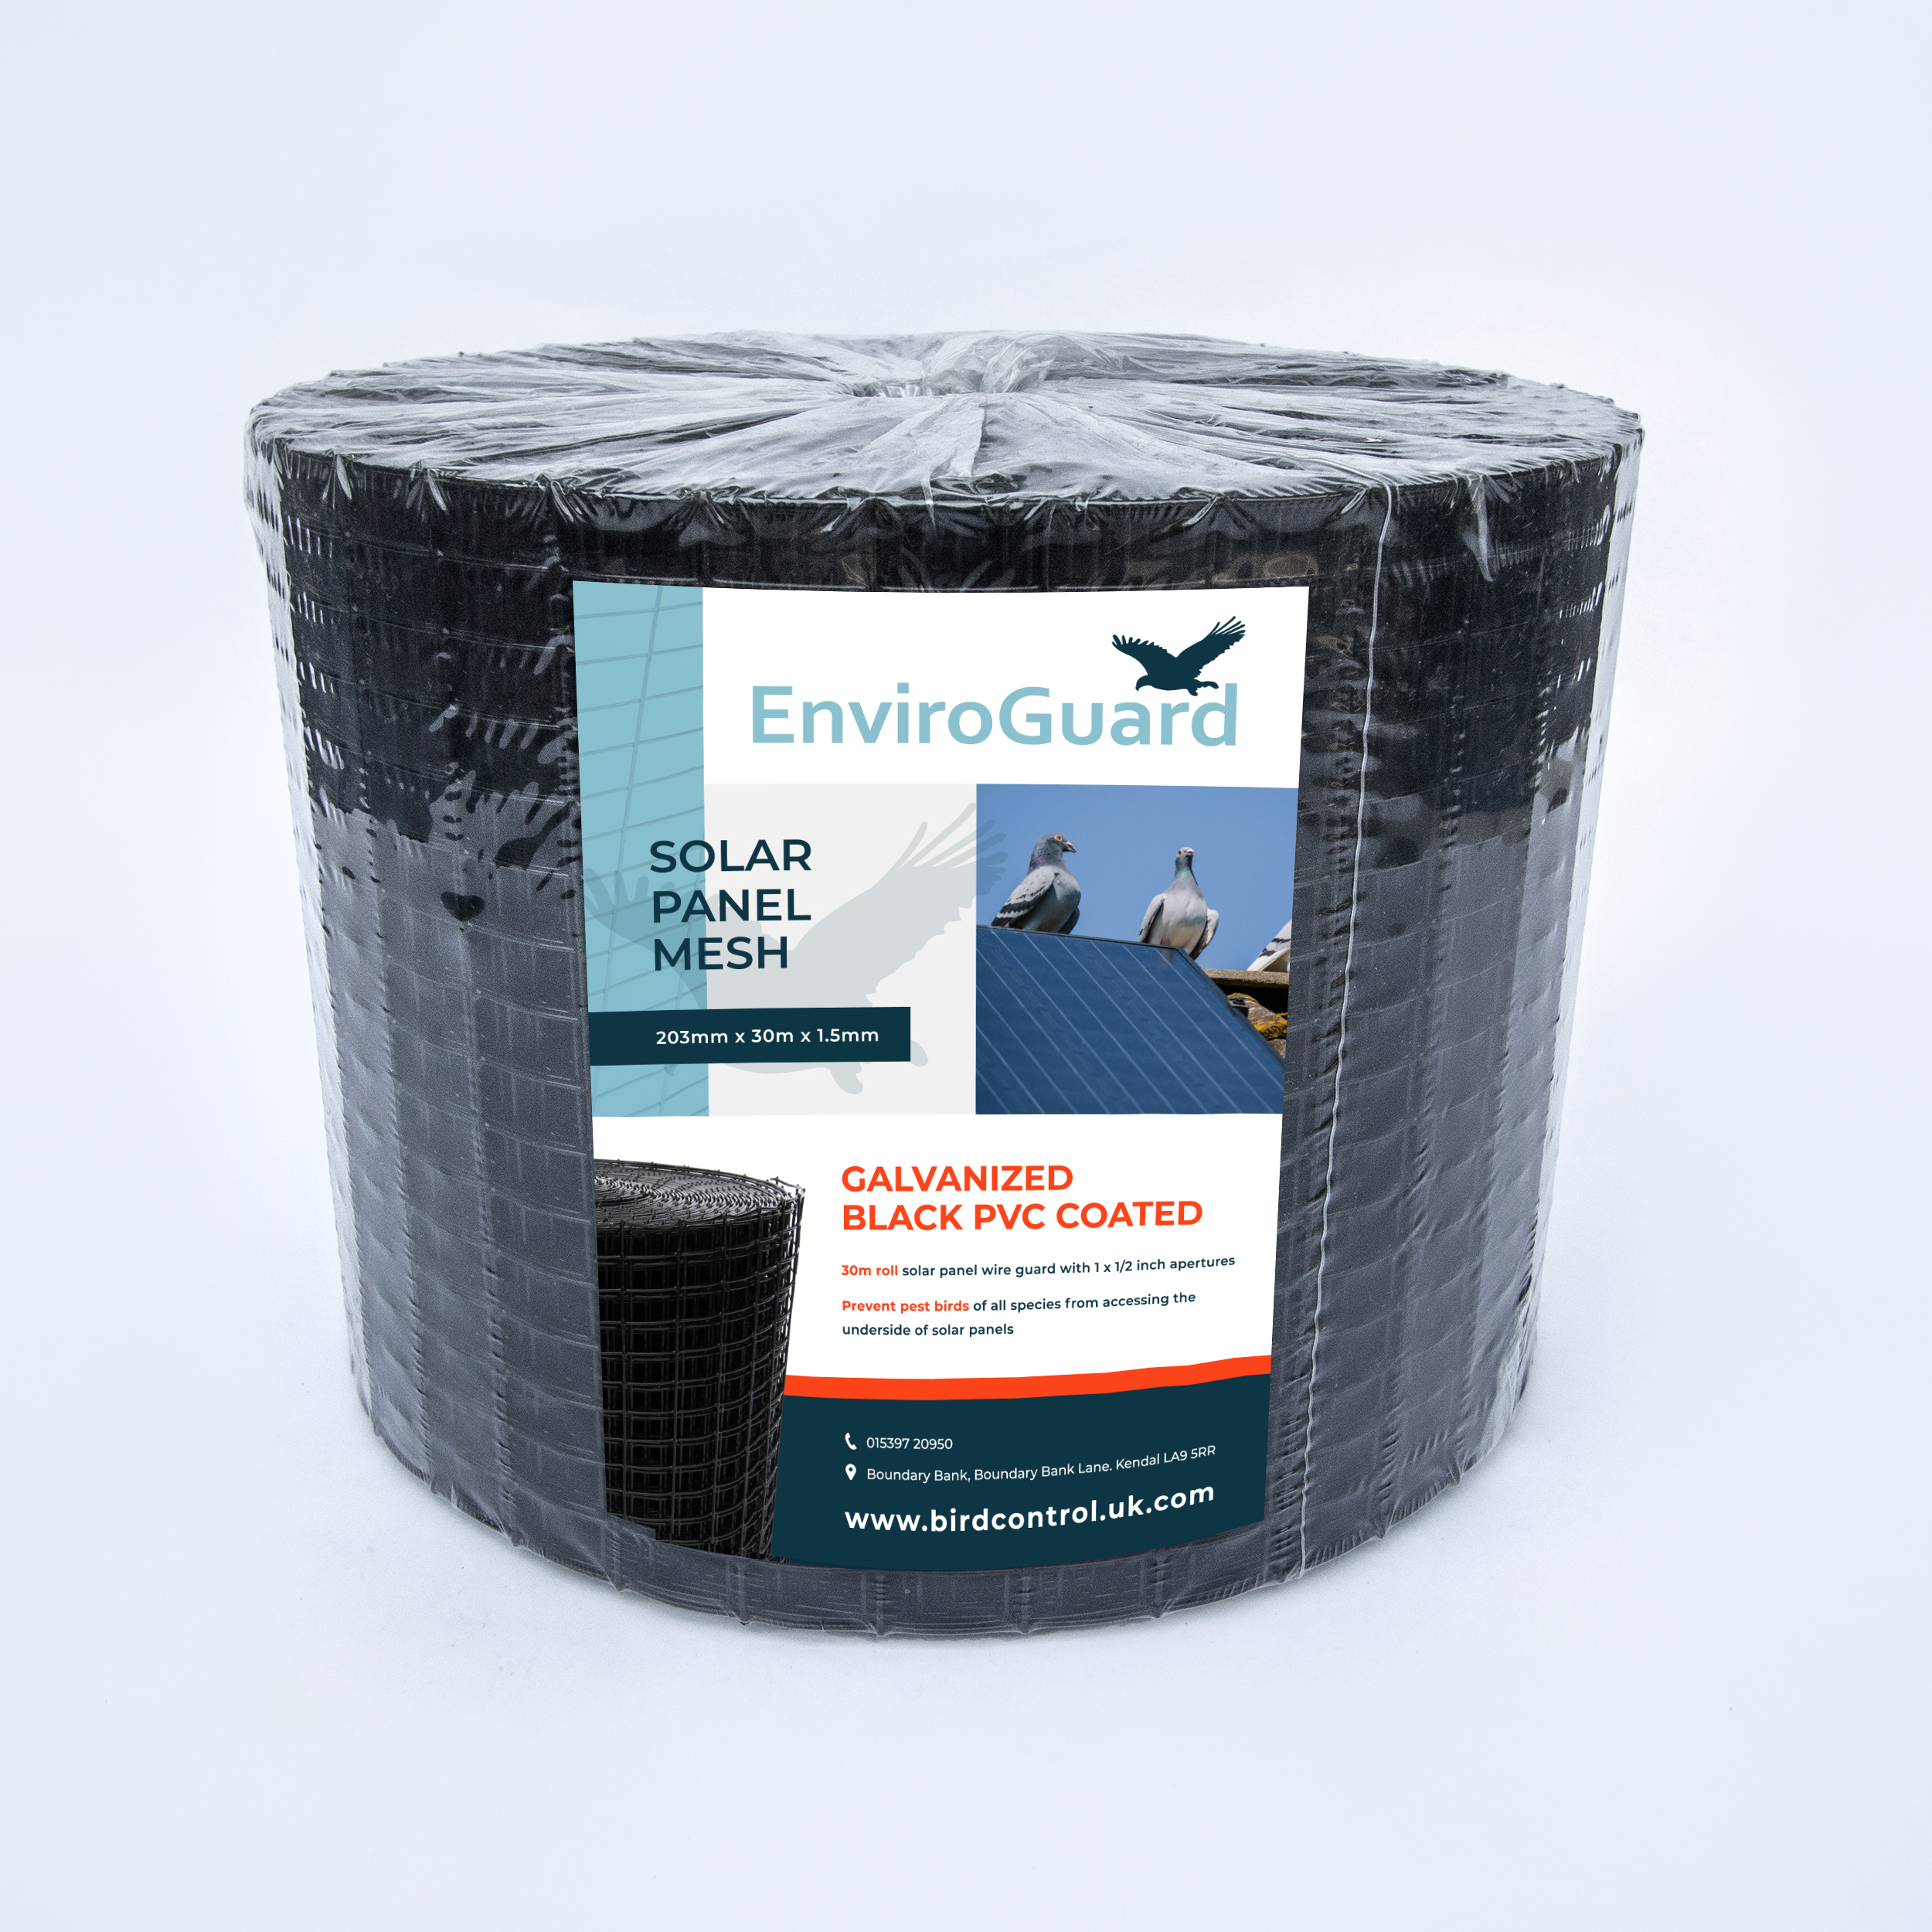
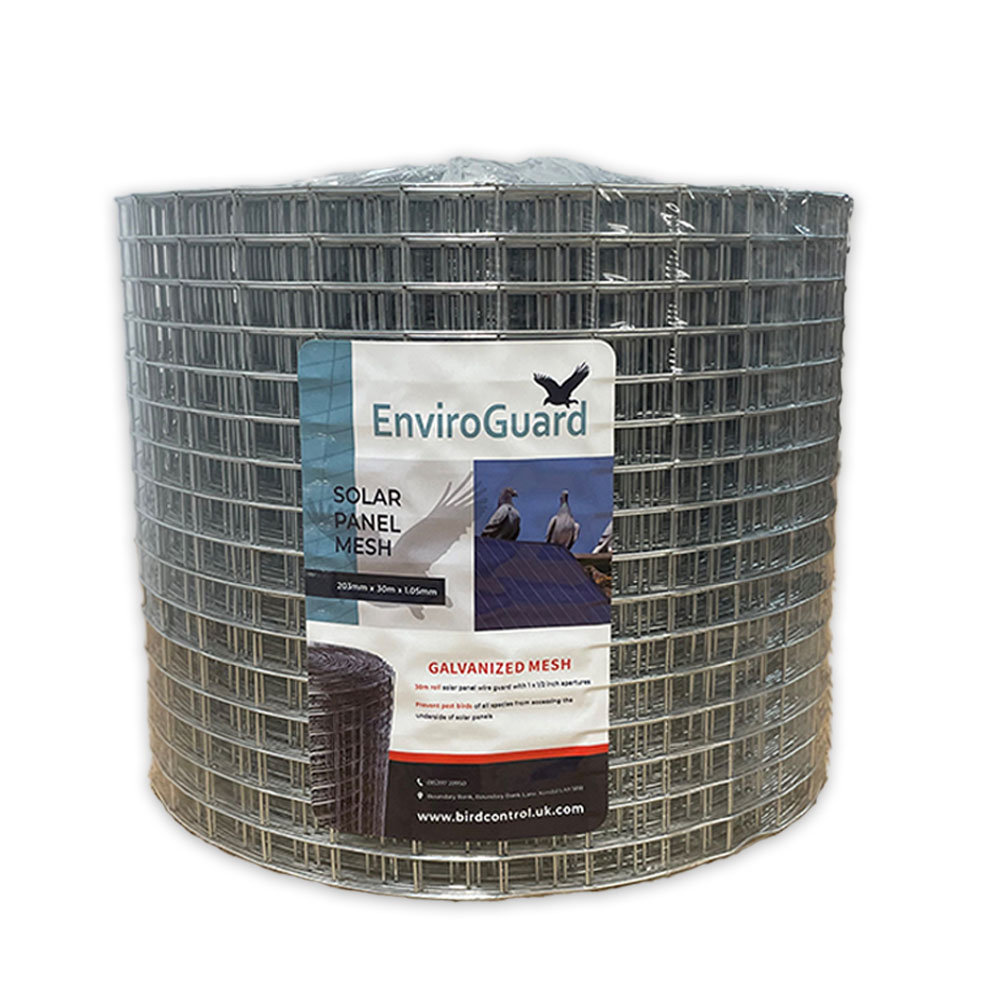
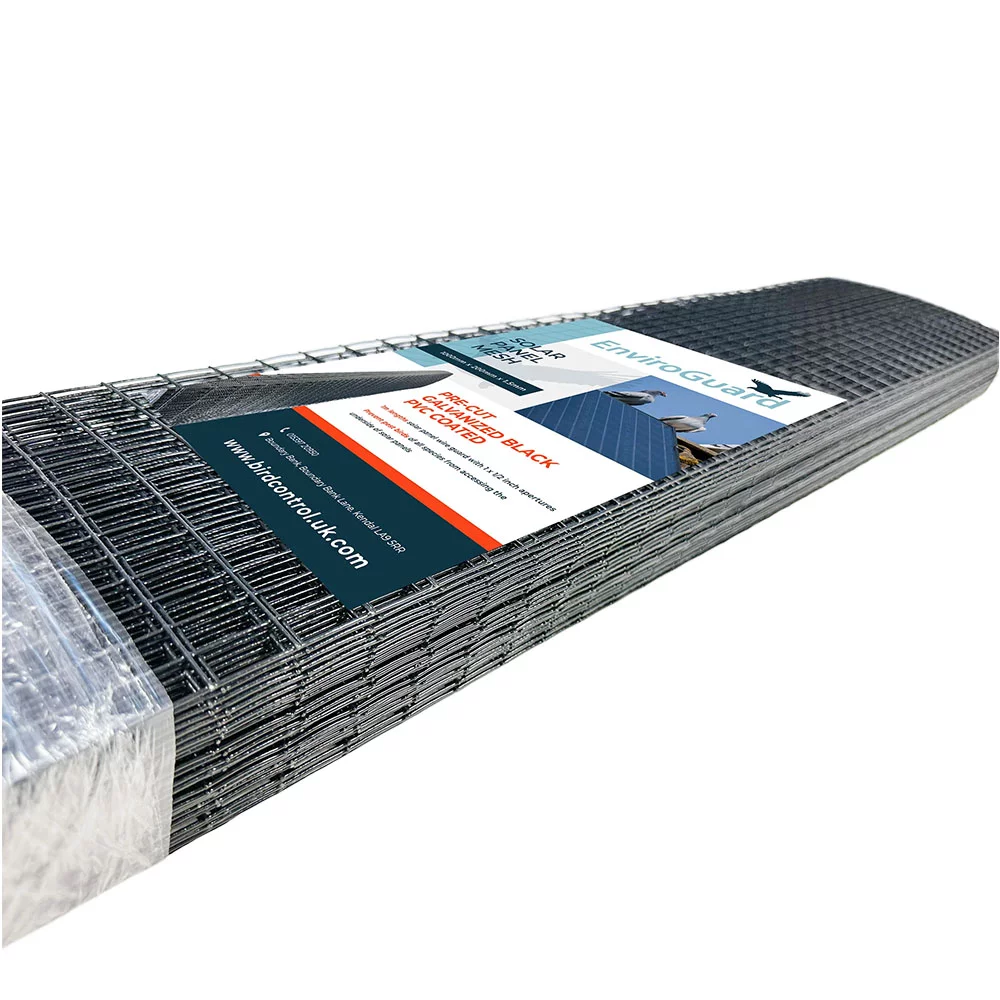
- 30 x 1 M lengths of Hot Dipped Galvanized then PVC Coated Solar Panel Weld Mesh
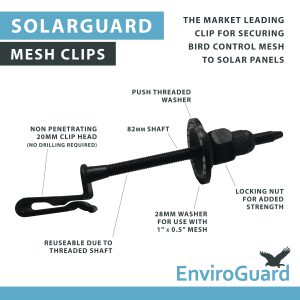
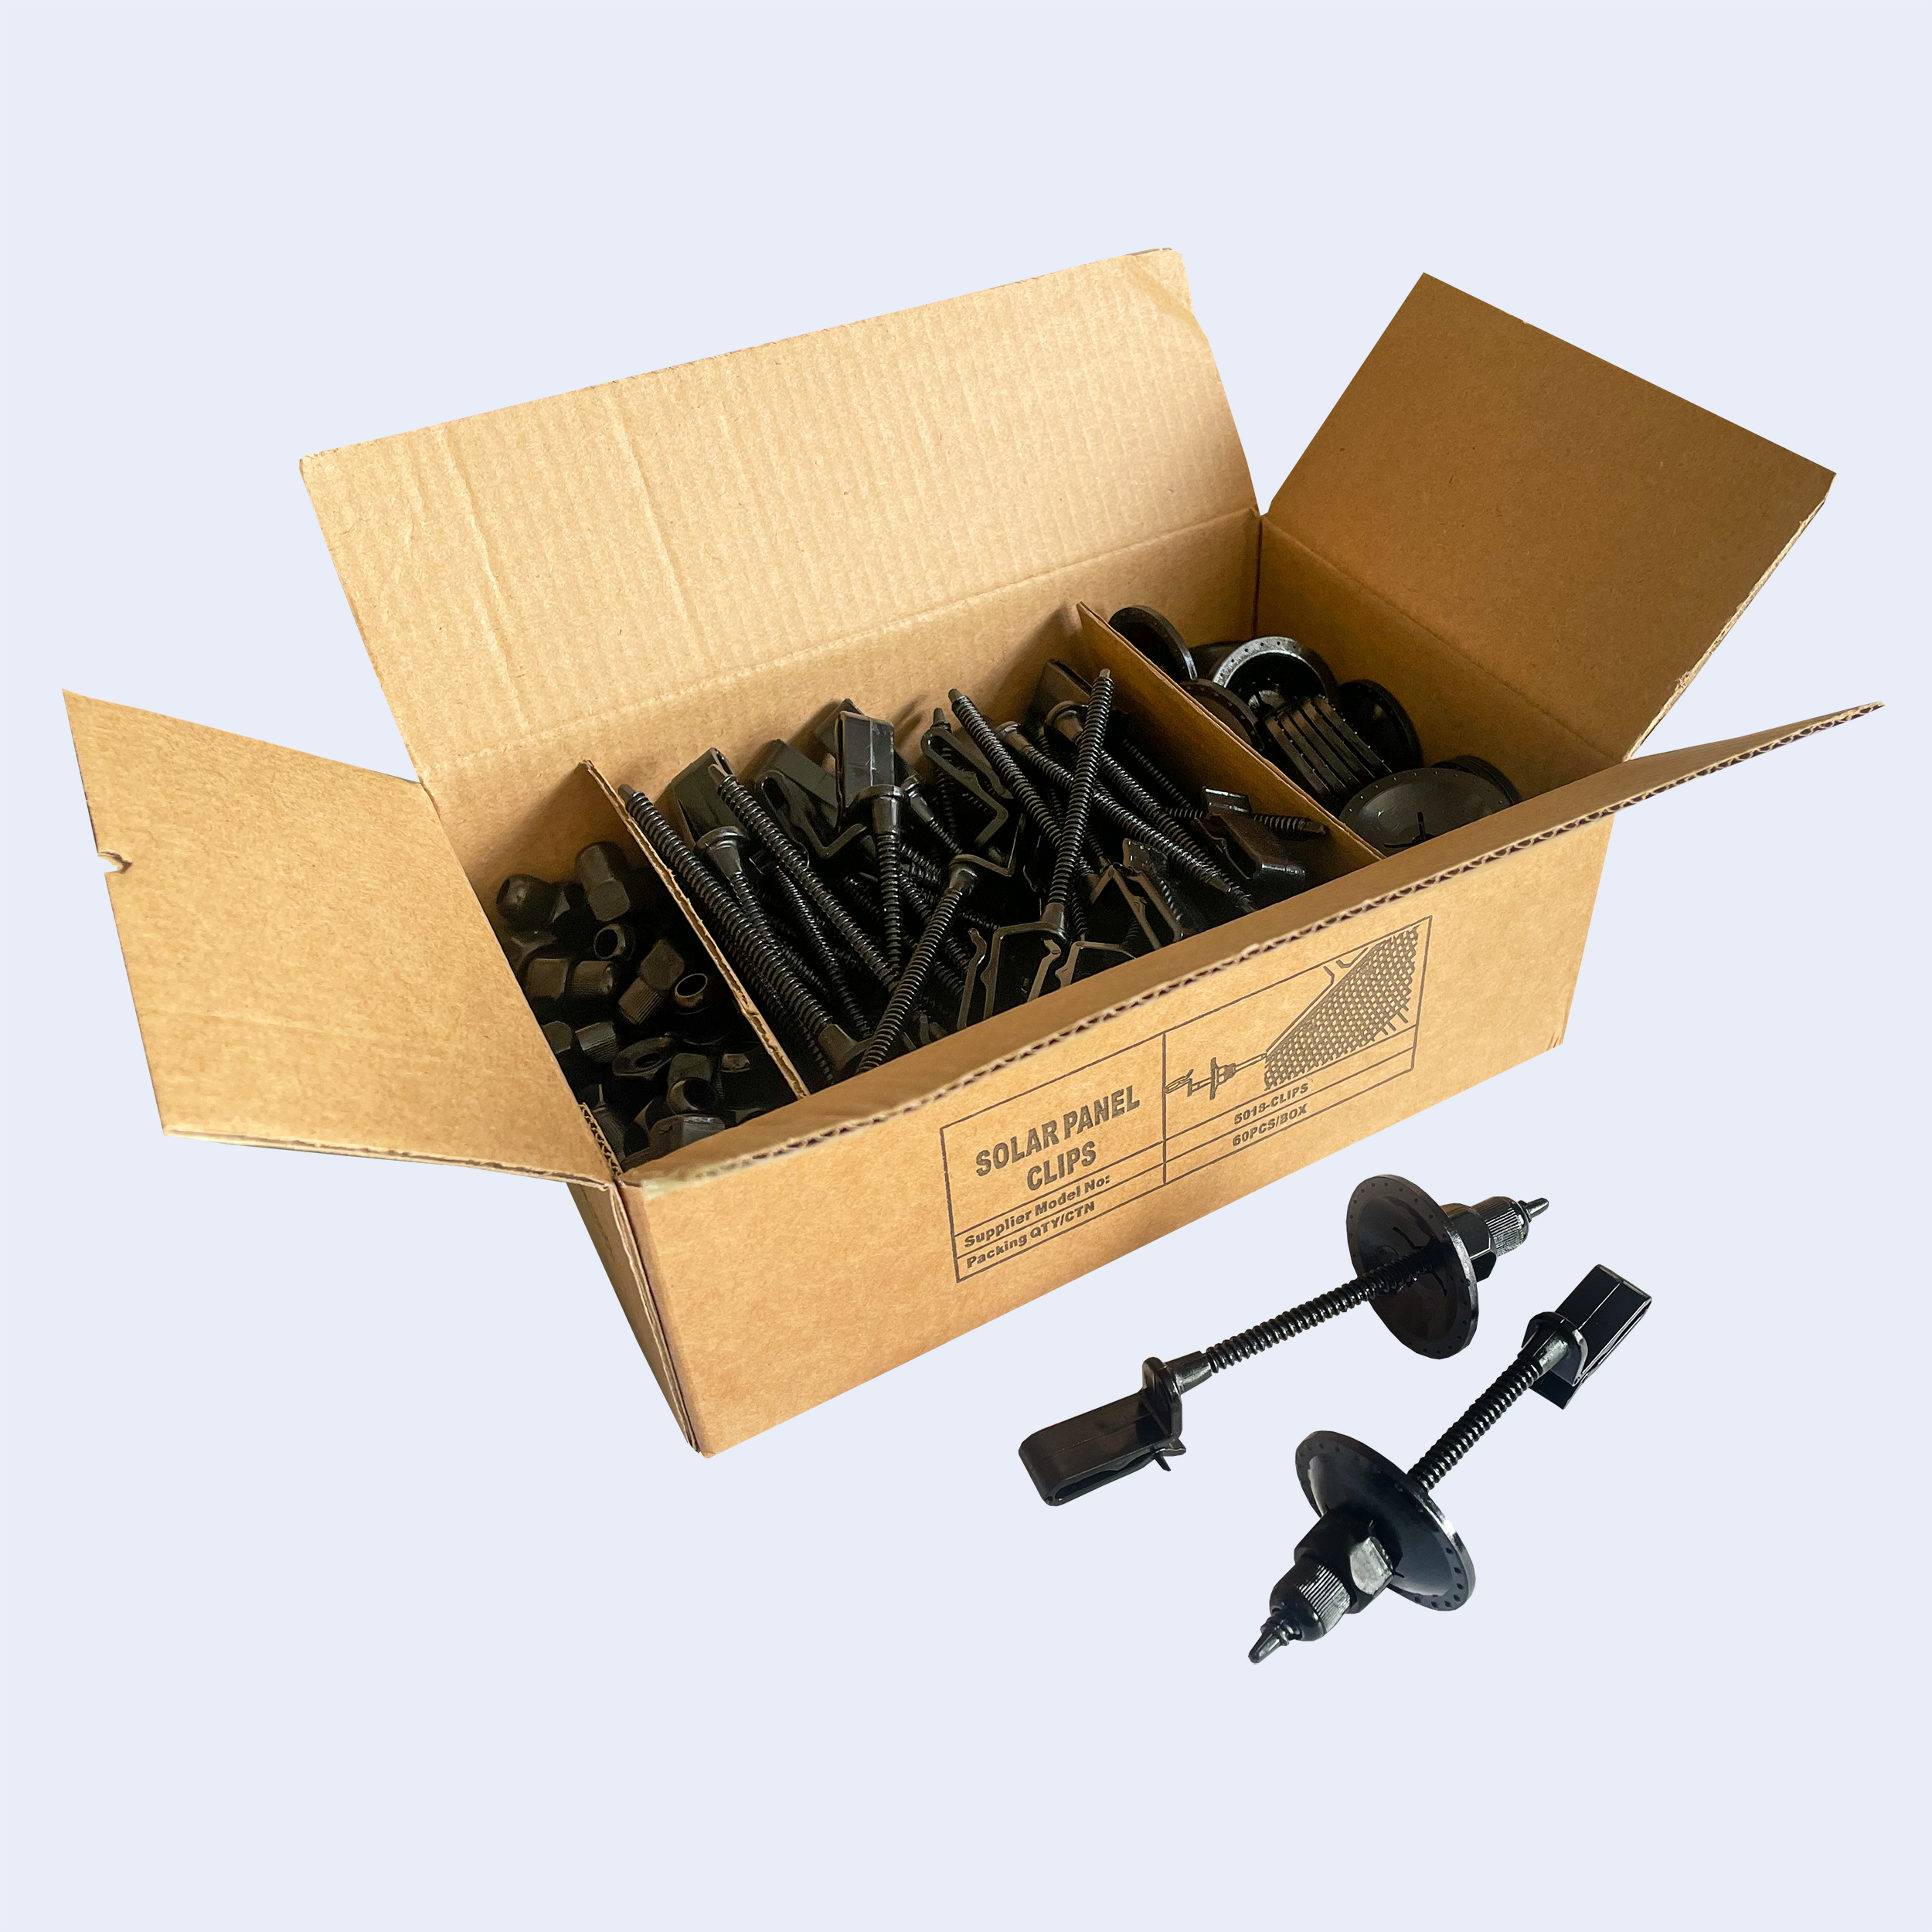
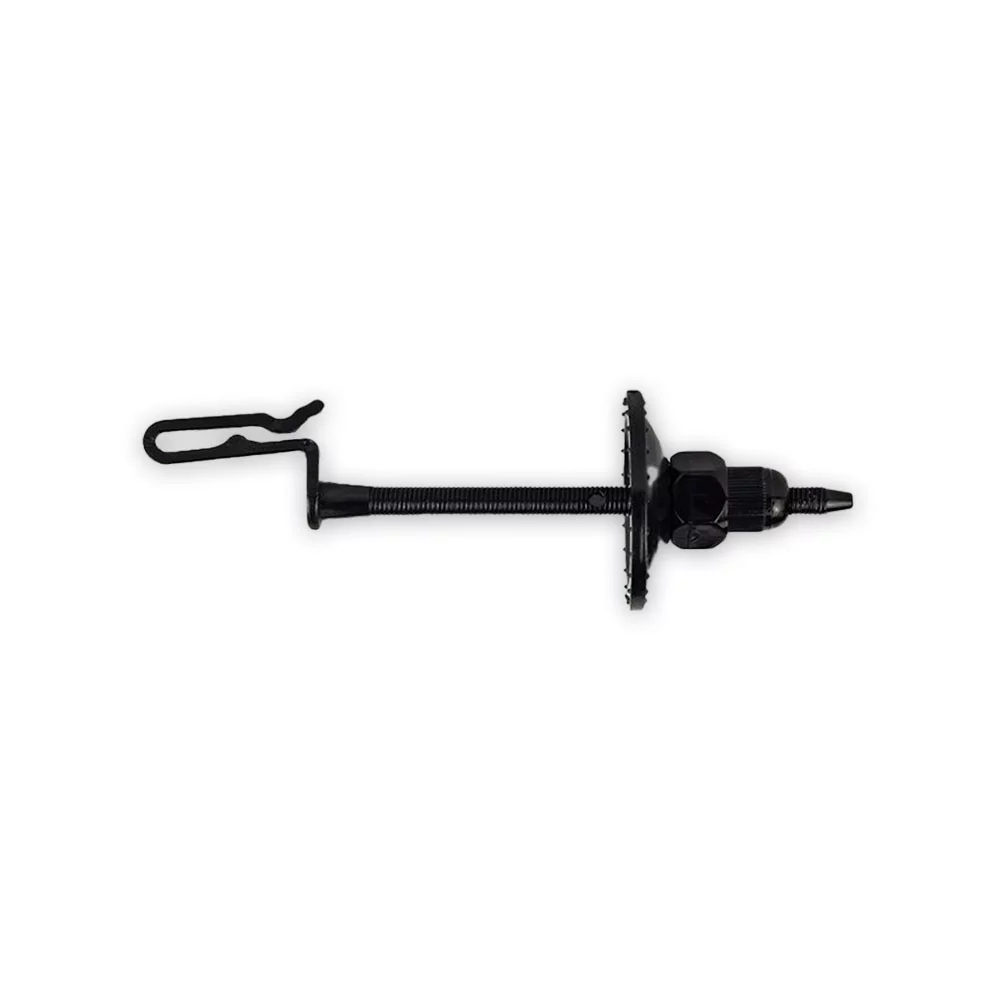
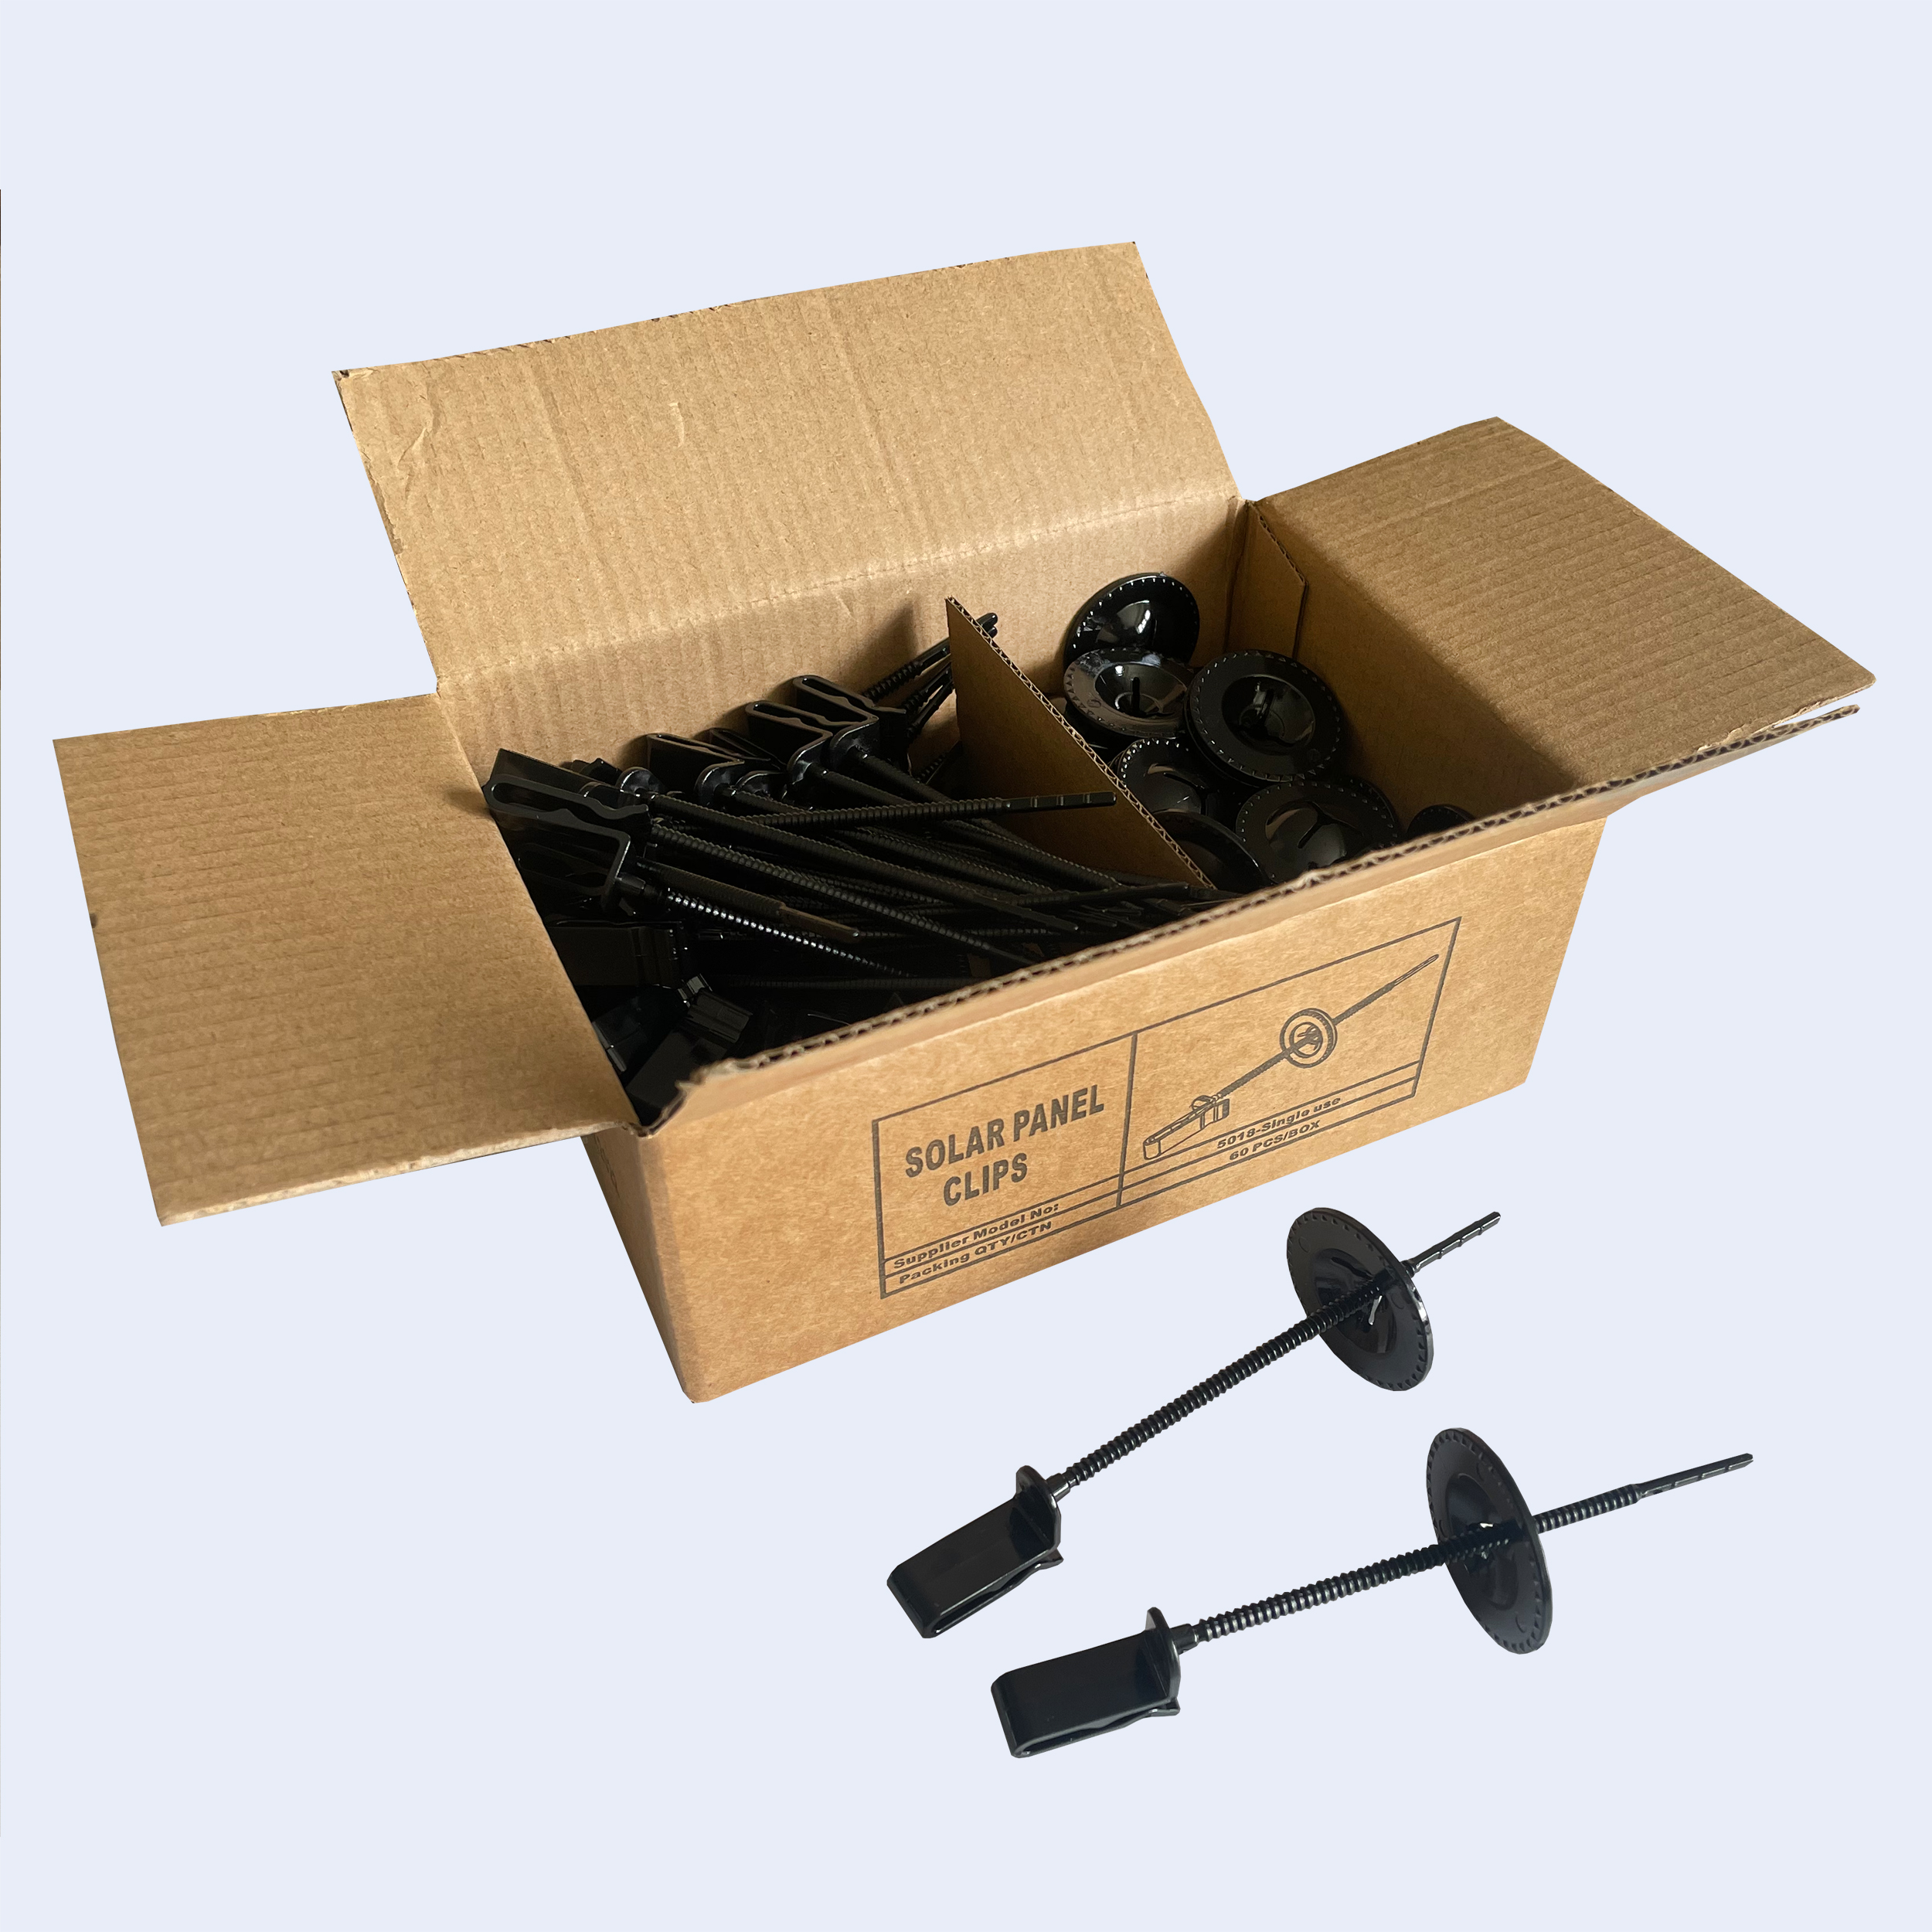
- 60 Solar Panel Mesh Clips
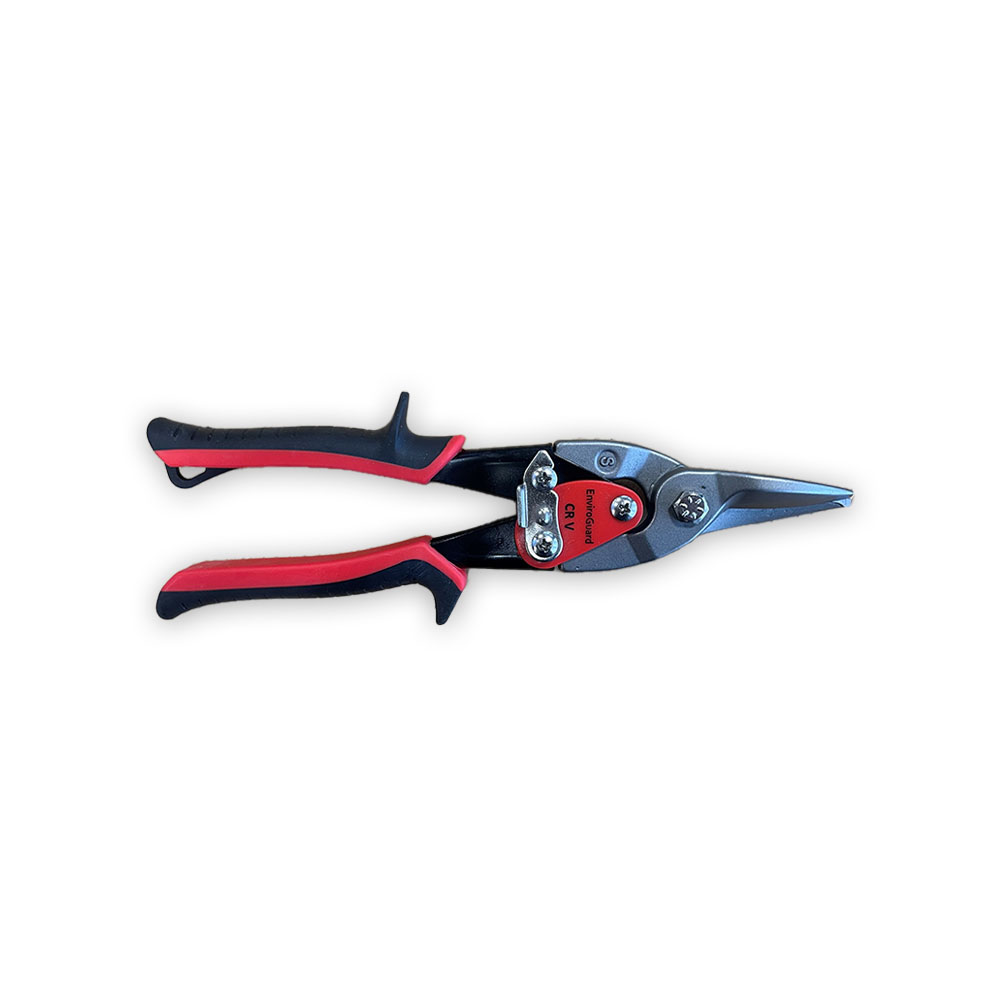
- 1 Standard Wire Cutter
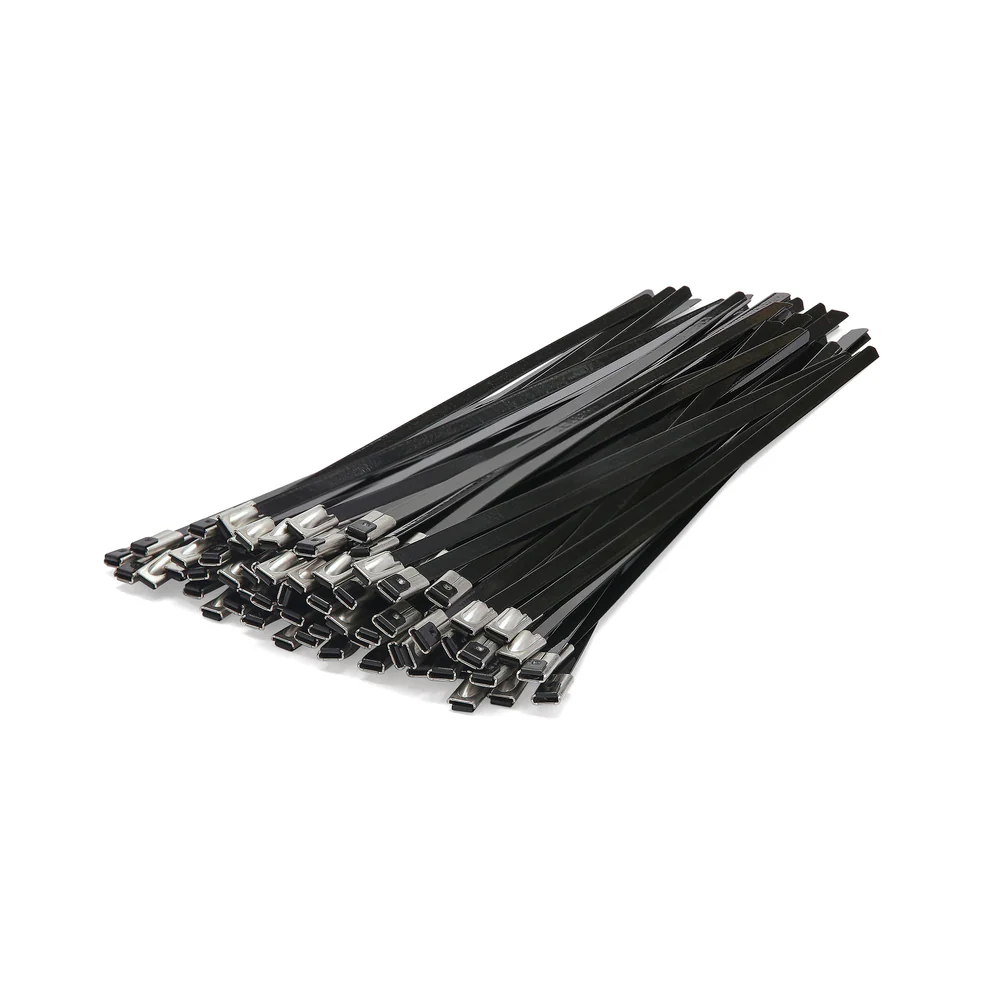
- 20 Stainless Steel Corner Ties
Weldmesh is manufactured from hot dipped galvanised mesh then pvc coated for additional protection and to add the black colour . Mesh Size: 25mm X 12.5mm (1″ X 1/2″) Sheet length 1m x 200mm wide
Sheet Width: 20 cm
Sheet Length: 1 metre
Solar Panel Clips are manufactured from U.V.-stabilized polycarbonate
Corner ties are stainless steel to ensure the whole system will not corrode unlike other cheaper inferior products
Where to Use: Rooftop solar panel arrays
Target Bird: Feral Pigeons
Bird Pressure: All levels
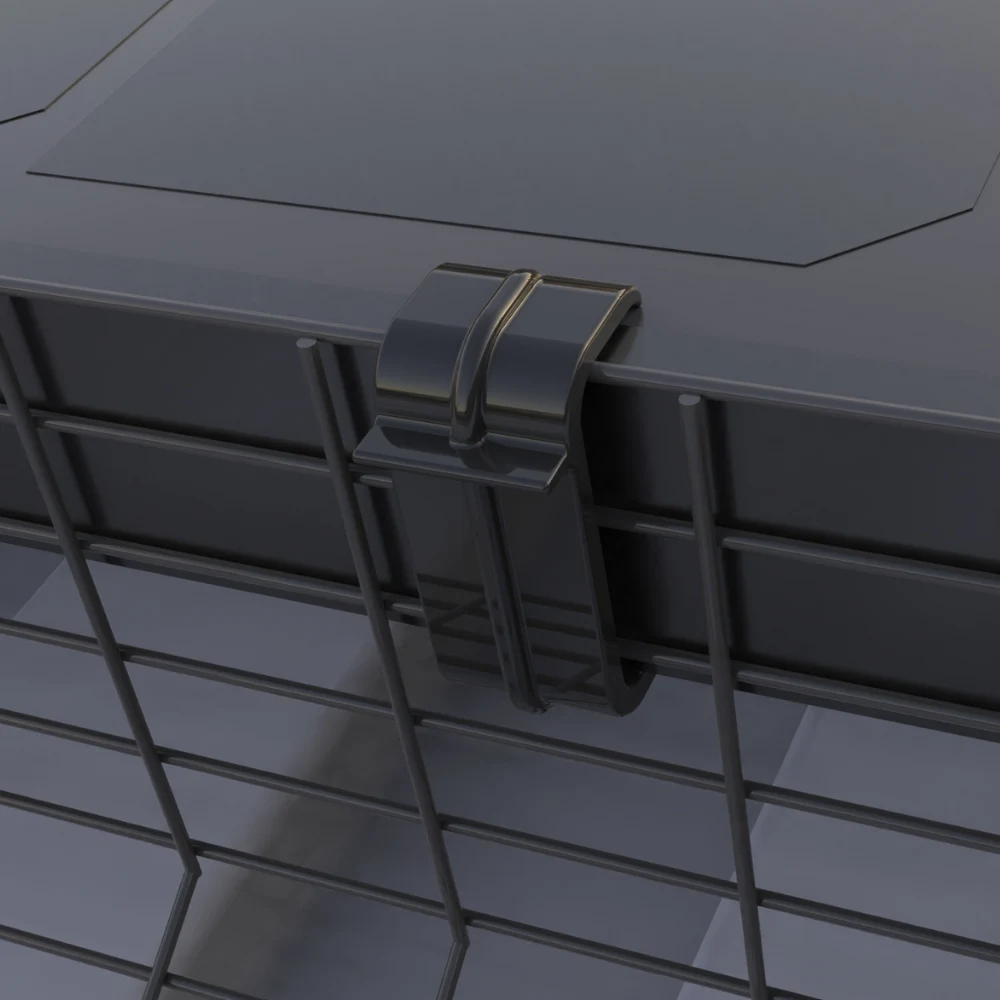
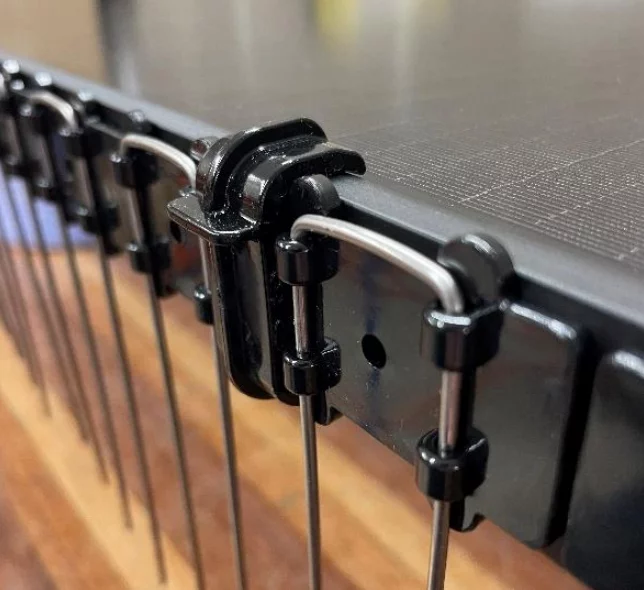
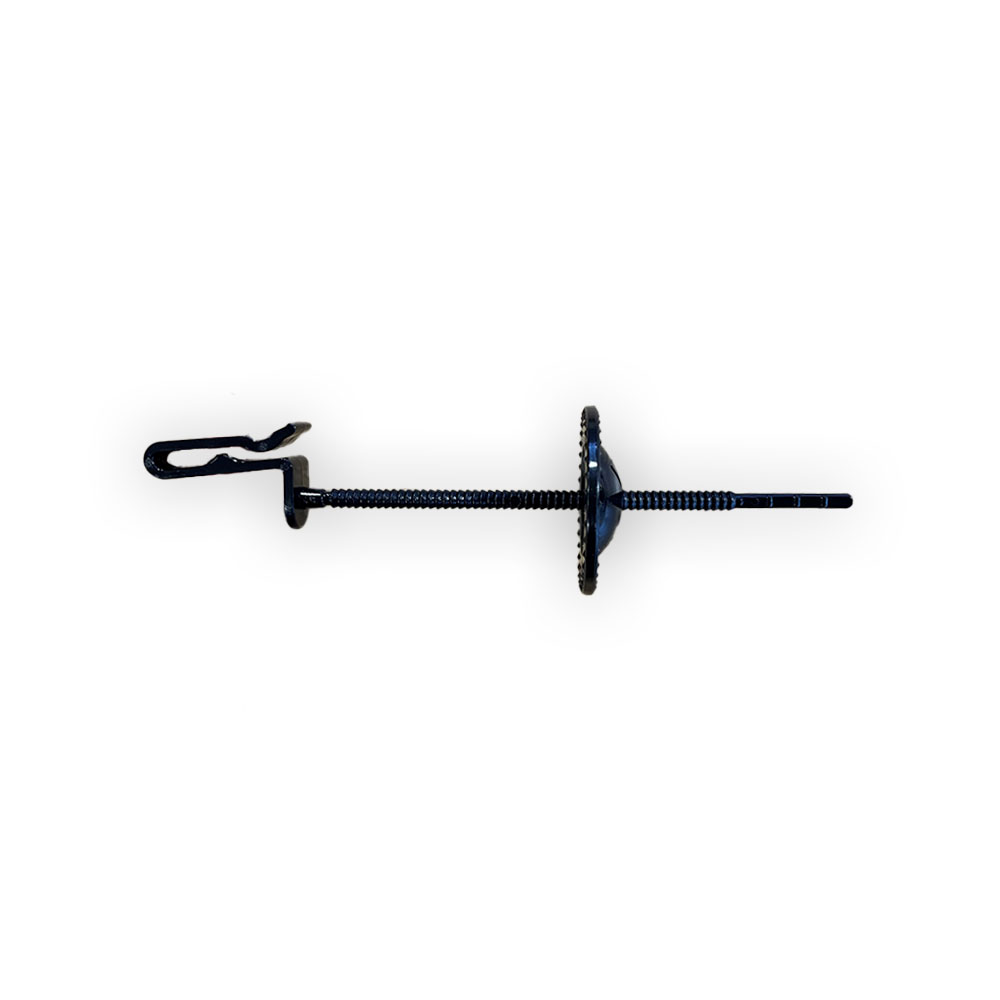
Installation: Wire mesh is bound to solar panels using patent-pending clips that have a washer and additional retaining nut for extra strength
Expertise Level: Easy
Usage:
Solar panels are being installed on commercial and residential roofs across the UK. These arrays provide perfect harbourage for birds, and homeowners are desperate for a solution that does not involve piercing or damaging the solar panels with mechanical fixings, hence avoiding warranty issues.
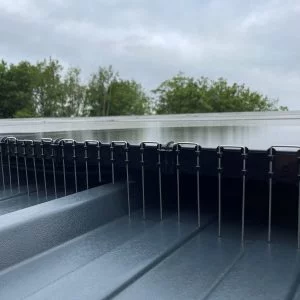
This innovative system is designed specifically to keep pigeons from getting under solar arrays, protecting the roof, wiring, and equipment from damage.
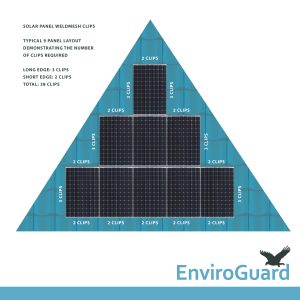
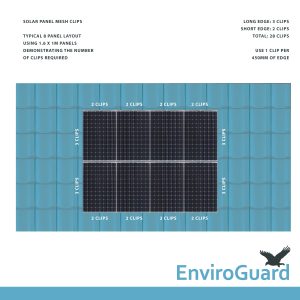
A typical solar panel is approximately 1.6m tall and 1m wide, on a typical panel one should use 3 clips on each long edge and 2 clips on each short edge. See the diagram attached to this product listing for more details and an example of a typical installation.
This non-penetrating system is fast and easy to install, does not void warranties and can be removed for servicing.
Installation Instructions
-
The PVC Coated mesh is in 20omm wide sheets and comes in 1 metre lengths
-
Bend up two to three squares of the mesh to about a 45 degree angle (see illustrations below). This helps to lock the mesh snugly to the roof, this can easily be done over flat edge by hand.
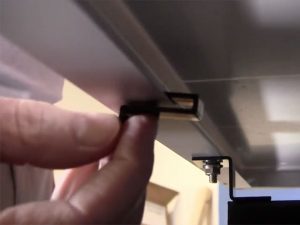
STEP 1: Place clips every 18 inches. Slide the clip onto the edge of the panel support bracket. Slide as far outward as possible so the clip is all the way on the lip of the panel.
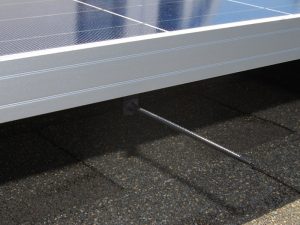
STEP 2: Set the wire mesh screen in place. Make sure the fastener rod comes through the screen at an upward angle as to keep downward pressure on the screen
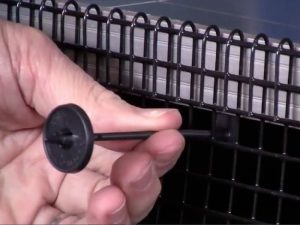
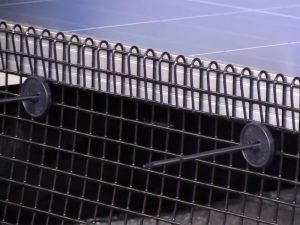
STEP 3: Slide the speed washer onto the shaft of the clip assembly until snug. Make adjustments to the screen as necessary. Tighten speed washer to panel edge and add the locking nut.
STEP 4: Cut off any excess mesh screen sticking over the top edge of the solar panel array. Cut of the clip assembly rod flush with the exterior of the speed washer. Use metal shears
Installation video
If you require any further advice before ordering, please do not hesitate in contacting us and we will be happy to help….. Tel Freephone 0800 0687279
